Wednesday, August 14, 2019

Nature of the beach - Mixed Media tag


Hello lovelies, hope you are well! today I am sharing my DT creation for Artsystamper
I just love Beverly's digital stamps and this wonderful Sea Turtle is one of my very favourites! I have used the 'Nature of the Beach' digital stamp set to create my mixed media art tag. 


To create my tag, I took a piece of Kraft card stock measured at 5 Inches x 3 Inches and adhered this wonderful paper from the Cherry Blossoms digital paper pack. Next, I used the Tim Holtz Curiosity definition rubber stamp along with Black soot distress ink 


Once the ink was dry, I then adhered a honeycomb die cut and torn pieces of corrugated cardboard to my tag. I then added the Sea Turtle digital stamp from the kit. Finally, I adhered an M&C Boutique foliage die cut from corrugated cardboard also. Thanks so much for stopping by, I really appreciate your lovely comments. Hugs, Zowie xx 

Tuesday, August 13, 2019

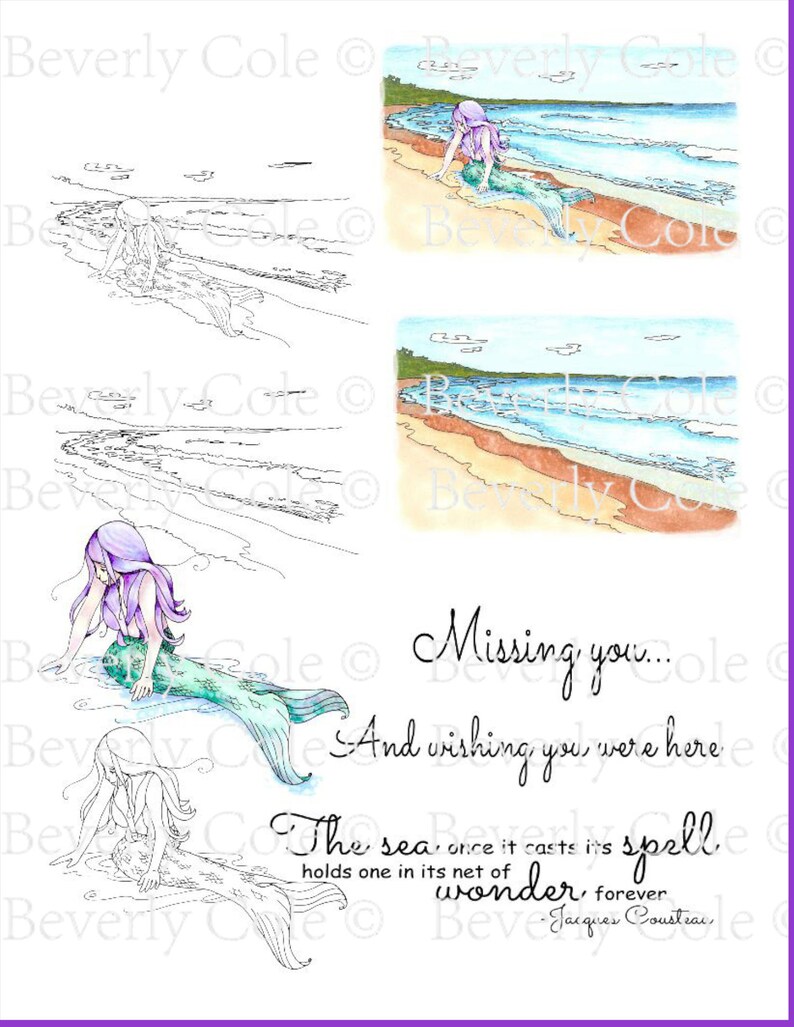
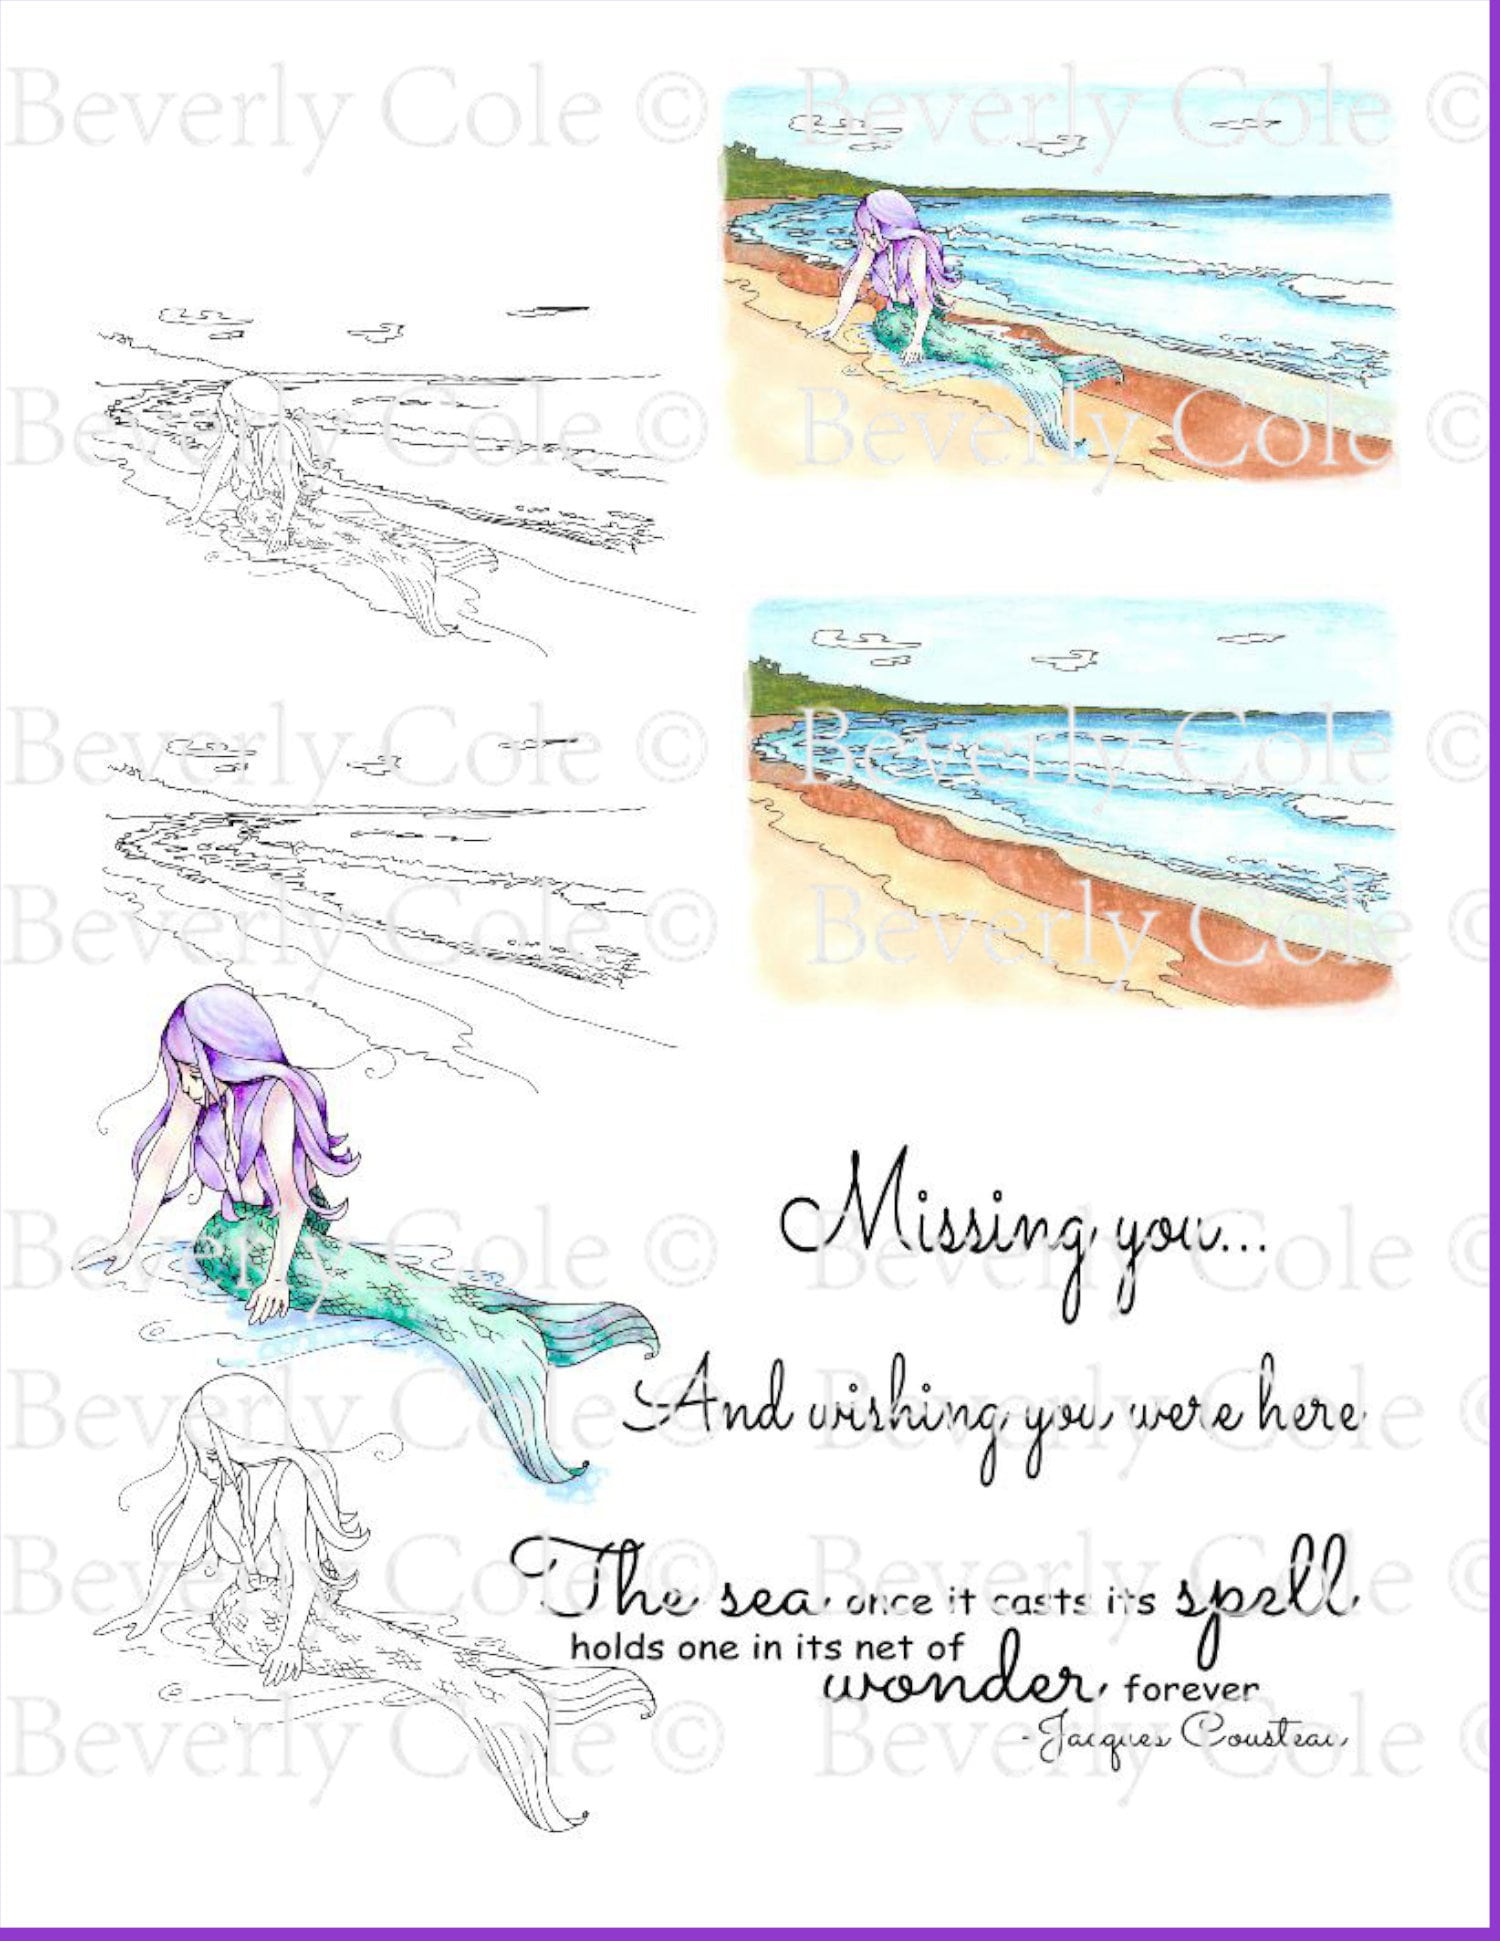
Mermaid Wishes Series Part 2 - by Jess

Hello friends!


It's Jess (AKA - fresh. by jess!) here today to share with you Part 2 in my Mermaid Series for the Artystamper design team. I know I will make you fall in love with the  Mermaid Wishes Digital Stamp Set.

Here is handmade card #2:


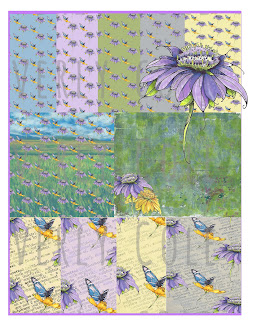
To start, print off your digital image after sizing to desired size. To color this one, I used Nuvo Aquaflow pens. The background paper is from the Marble Magic Digital Paper Pack. Simple, elegant and oh so easy!  

Want more? Check out all the Artsystamper Media Channels:
Etsy Shop: TheArtsystamperShop

I look forward to sharing Part 3 in two weeks!

See you soon!

Jess

Monday, August 12, 2019

Nature of the Beach with Carole


Hello and Happy Monday!


I am thrilled to be joining the Artsystamper Addicts Design Team and this is my first project for Artsystamper.com

I used the Nature of the Beach Digital Stamp Set and Marble Magic Digital Paper. Here is the 5 x 7 inch card I made:


I planned my card design in MS PowerPoint on my laptop, simply because this is what I am most used to. This is very easy to do as Bev provides all the images in .png format which means they have transparent backgrounds. I opted to use the pre-coloured images this time and I need to tell you that the colours and details are terrific! Once I was happy with my design I printed out the individual elements and the River Meadow Marble Magic background paper. I fussy cut the images right up to the black line and die cut some seaweed from the spare background paper. Then I gathered all the tools I would need for my project:


I started by lightly inking over the paper to make it darker, especially close to the base where there would be shadows. I inked the edges of the paper with Peacock Feathers and Chipped Sapphire Distress Oxide. I also inked the edge of the seaweed to give it a bit more definition so that it would stand out better on the background.


I always run around the edges of my fussy cut digi images with a black Copic marker. This conceals any white edges which are left after cutting. For this project, I decided to shape the turtle, shells and starfish by using a large stylus on a foam mat. Simply turn the image upside down and roll the stylus around from the centre outwards - some creases may occur, but this is not a problem.


Now that the elements are ready, I place them roughly where they are to go and take a photo to remind me where to attach them.


I decided to add a little extra stamping and such to the background, not that it needed it, but I just like to add my mark on cards I make using pre-coloured images. I stamped some wild grasses in Hickory Smoke and Black Soot Distress Ink. I also added some watered down white acrylic paint splatters and some water spots which bleached out some of the colour. The turtle was the first image to be attached using foam pads in the centre and glue around the edges. The shells, seaweed and starfish were also arranged on foam pads to keep their shape and dimension.


Once everything was in place, I added some Stickles to the starfish and shadows to the conch shells and the turtle shell using grey Copic markers. I also added some white highlights to the images using a white Posca paint pen. Some dried flowers were tucked behind the shells to mingle with the seaweed.
Small iridescent sequins were added to the background along with some Nuvo Crystal drops to replicate bubbles. Wet glue was applied along the bottom of the background and Golden Prills sprinkled over to represent the sandy sea floor. 


Finally, the sentiment was matted onto blue card and attached on foam tape.


The background was then matted onto dark blue card and placed onto a 5 x 7 inch card base. 
Here a final look at the finished card:


***
I mentioned before that I prepare my design in PowerPoint. I decided to print out the slide and make a one-layer, flat card - perfect for popping in an envelope and mailing. These digitally designed cards are quick and easy to make. Bev has a great tutorial on how to do this on her You Tube channel here.
You'll notice that I added some of Bev's Field Flower Silhouettes to the Marble Magic background paper, digitally changing the colour from black to teal and green. I added Posca paint pen lines and dots in black and white to the images. I matted the image onto dark blue paper and attached it to a 5 x 7 inch card base. 


 Nature of the Beach            Marble Magic              Field Flower Silhouettes


That's all from me for today! 

Saturday, August 10, 2019

Easy Coloring Cards!


Hi It's Beverly Cole...welcome to my studio! 


Creating Cards to Color

Yesterday I was at my computer, creating a video for those of you who are into or getting into digital stamping. The video shows how I compiled digital stamps, moving them, resizing them, etc.


I used a few of  my digital sets:
and to mat the cards:

You can find these in my Etsy shop, TheArtsystamperShop.
You can find all my videos through the link at the top of this page under, Tutorials. My YouTube Channel is called, BZ Cole Mixed Media.

Creating coloring pages is this easy, too! I love combining stamps from a variety of my sets. I belong to a coloring group in my community. It's exciting to see people who want to learn to color. I enjoy the company as I add marker and pencil to my yet-to-be-released images.

For these cards I simply shaded the roses with two Prismacolor Premier Pencils. I enjoy using Crimson Red and Indigo Blue layered together to create my shadows. I use a blending marker to blend them. I then added alcohol marker colors over the pencil. I added dots of alcohol marker to the backgrounds to add interest. It beats coloring in the entire background!

I finally inked the edges with some Distress Oxide Inks. The two cards are layered onto papers from the above mentioned digital papers.

Follow me on Instagram:@Artsystamper to see what my Artsy Addicts and I are up to!

I hope you enjoy the video, and if you need more information on how to use your Word Processor (I use Open Office. It's a free download) here is another video to help you.
Digital Stamping 101

Above all, HAVE FUN!


Friday, August 9, 2019

Spring Blossoms with Michelle

Hi There! This is Michelle with a new card I made using the Sketched Spring Blossoms digital stamp. I love to color flowers  so this image immediately drew me to it!

I sized and printed the image out. I decide to color it with alcohol ink markers. I then dry embossed a piece of purple cardstock. I rubbed the embossed cardstock with my Versamark ink pad and then heat set purple embossing powder on top of the raised pattern. I fussy cut my Spring Blossoms and adhered them to the card with foam squares.

To complete the card I added some black grosgrain ribbon.  I fussy cut the sentiment "Enjoy" from Beverly's Rose stamp set.

Make sure you check out the Artsystamper Etsy Shop and YouTube channel. Beverly gives lots of tips and tricks for working with digital images.

Thursday, August 8, 2019

Cool Cruisin' Card by Nancy

Happy Thursday, everyone! It's Nancy here with a fun project share!
Today I am sharing a card that features:

Cruisin' Digital Stamp Set, and


Retro Fun Digital Paper Pack.


This combination makes a fun masculine card;

quick and easy to put together.

Here's my card:


I used the pre-colored image of the car,
and mounted it onto the fun retro paper with foam tape.
The sentiment was matted with black cardstock,
and also mounted with foam tape.


Isn't that fun? 
You can choose a car in another color, or color your own.
Then you can put it on a different background paper,
and you'll have an entirely different look!
* * * * *
Thanks so much for stopping in today!
Here are the links for you:


* * * * *

Wednesday, August 7, 2019

Let's Go Cruisin'

Kren here for The Artsystamper Addicts DT sharing some retro fun.
Let's go Cruisin' with the Cruisin' set.
And let's "Be Square, Daddy-o!"   Let's make a square card.

Using digital stamps makes it easy to size images for any size card.
I created the retro die cuts and chose my designer paper.
That determined the size I wanted the cool car to be.
Coloring with alcohol markers and fussy cutting the car finished up the design. 

Be sure to check out all the tips for working with 
digitals on the BZ Cole Mixed Media channel on YouTube.


Tuesday, August 6, 2019

So Grateful

Hello friends!
Darlene with you today sharing another creation using beautiful digital images from
TheArtsystamperShop.  Bev has created some gorgeous designs that I'm having so much fun playing with. 


 Once again I have turned to one of the backgrounds offered in Bev's Marble Magic Paper Pack as the starting point for my card creation.   I thought these colors were indicative of the 'deep blue sea' so chose Bev's amazing  36 piece Koi Pond Set to create my scene.
 So many beautiful images to create with!  WOW! 


After printing my scene onto glossy photo paper, I've used royal blue card stock for my matting panel and a touch of Nuvo White Gloss Crystal Drops as an accent.  VIOLA ... ready for the mailman to deliver to my friend!

You'll certainly want to check out the TheArtsystamperShop and for inspiration, subscribe here at the Artsystamper Blog.  The design team ladies are amazing and are showcasing some amazing works of art ... be sure to pop back and see for yourself.

Wishing you all an AMAZING day ahead! 
Thanks SO MUCH for taking the time to stop by! 
Please stop back tomorrow for another amazing creation from the design team.


Monday, August 5, 2019

Hybrid Mermaid Card

Hello, Amanda here today to share one of my favorite Artsystamper stamps! I love this one so much that I have used it several times. That's the great thing about digital stamps, you can use them so many times and each time in a new way, size or style. 

My favorite stamp, so far, is Mermaid Wishes! Isn't it gorgeous?


I took the stamp into Photoshop and put a couple of my favorite sea backgrounds (from my digital scrapbooking stash) behind it. I played with the blending modes until I was happy with how they looked behind the mermaid. Then I added seaweed and shells to embellish it a bit. Finally, I added the words and changed the color to a deep teal. 

I printed the card out. That's my favorite part. I love seeing the beautiful image printed out. I grabbed my scrapbook paper and distress ink and finished assembling the card. Take a look:


Thanks for taking a look and make sure you grab this beautiful stamp! Have a great week! 

Check out the other amazing stamps that Beverly has in her Etsy Store and get some more motivation from her YouTube channel!

Sunday, August 4, 2019

Natural beauty: a folded keepsake card.

Hello,
I am Inga Betenshi. And today I would like to show you a quite unusual card: a folded keepsake card with a decorated sleeve.
I used digital images from TheArtsystamperShop, to be specific- these pretty blossoms


I printed out the same flower twice, in 2 sizes. With help of tracing paper I traced the flower outline onto 2 mm foamiran sheet.
I coloured the flowers using Copic markers and Distress ink. Shaped the foamiran flower with a heatgun.
Some more details


And open. I made a small pocket for a gift certificate or a note, or a photo


Please check out Artsystamper Facebook page and youtube channel
Thank you for joining me today, I hope you were inspired to play with Bev's digi stamps!


Friday, August 2, 2019

Beverly's Roses

Hi! It's Beverly Cole 
Welcome to my studio!

Today I am sharing a digital card I created by combining images. 

I used one of my original Gelli Plate prints. You can find a similar background to this in the "Aster Garden Paper Pack." It has a couple of flowers added to it in that set. 
https://www.etsy.com/listing/703292860/aster-garden-paper-pack-wpurple-aster?ref=shop_home_active_13

I also used the "Beverly's Rose" Stamp Set. I added extra leaves to the image, layering them, flipping them, and resizing them.

I have a video on YouTube showing how to do the process, using another set.


You can find these sets in my Etsy shop, TheArtsystamperShop.

Enjoy your creative journey,

Thursday, August 1, 2019

Field Flower Silhouettes with Kimberly Wiener


Hi! It's Beverly Cole 
Welcome to my studio!

Today I am sharing two colorful cards created by one of the amazing designers on my Artsystamper Addicts Design Team...Kimberly Wiener.

Kimberly is so talented and a lovely person as well. I am so proud to have her on my team.

I love the simply artistic backgrounds which highlight my silhouettes.

Now a bit about this stamp set...The digital stamp set is called, Field Flower Silhouettes. I drew these from a field in Chestertown in upstate New York.


You can find this set in my Etsy shop, TheArtsystamperShop.

Have you watched my digital stamping videos on YouTube yet? BZCole Mixed Media

To see more about this card, be sure to visit Kimberly's Blog.

Now it's your turn to create something someone will love! 
Enjoy your creative journey,