Friday, July 24, 2020

Flying Free with Alice and Gecko Galz


Hello, and thanks for stopping by!
Today I have another card for you, done with the amazing Gecko Galz products!

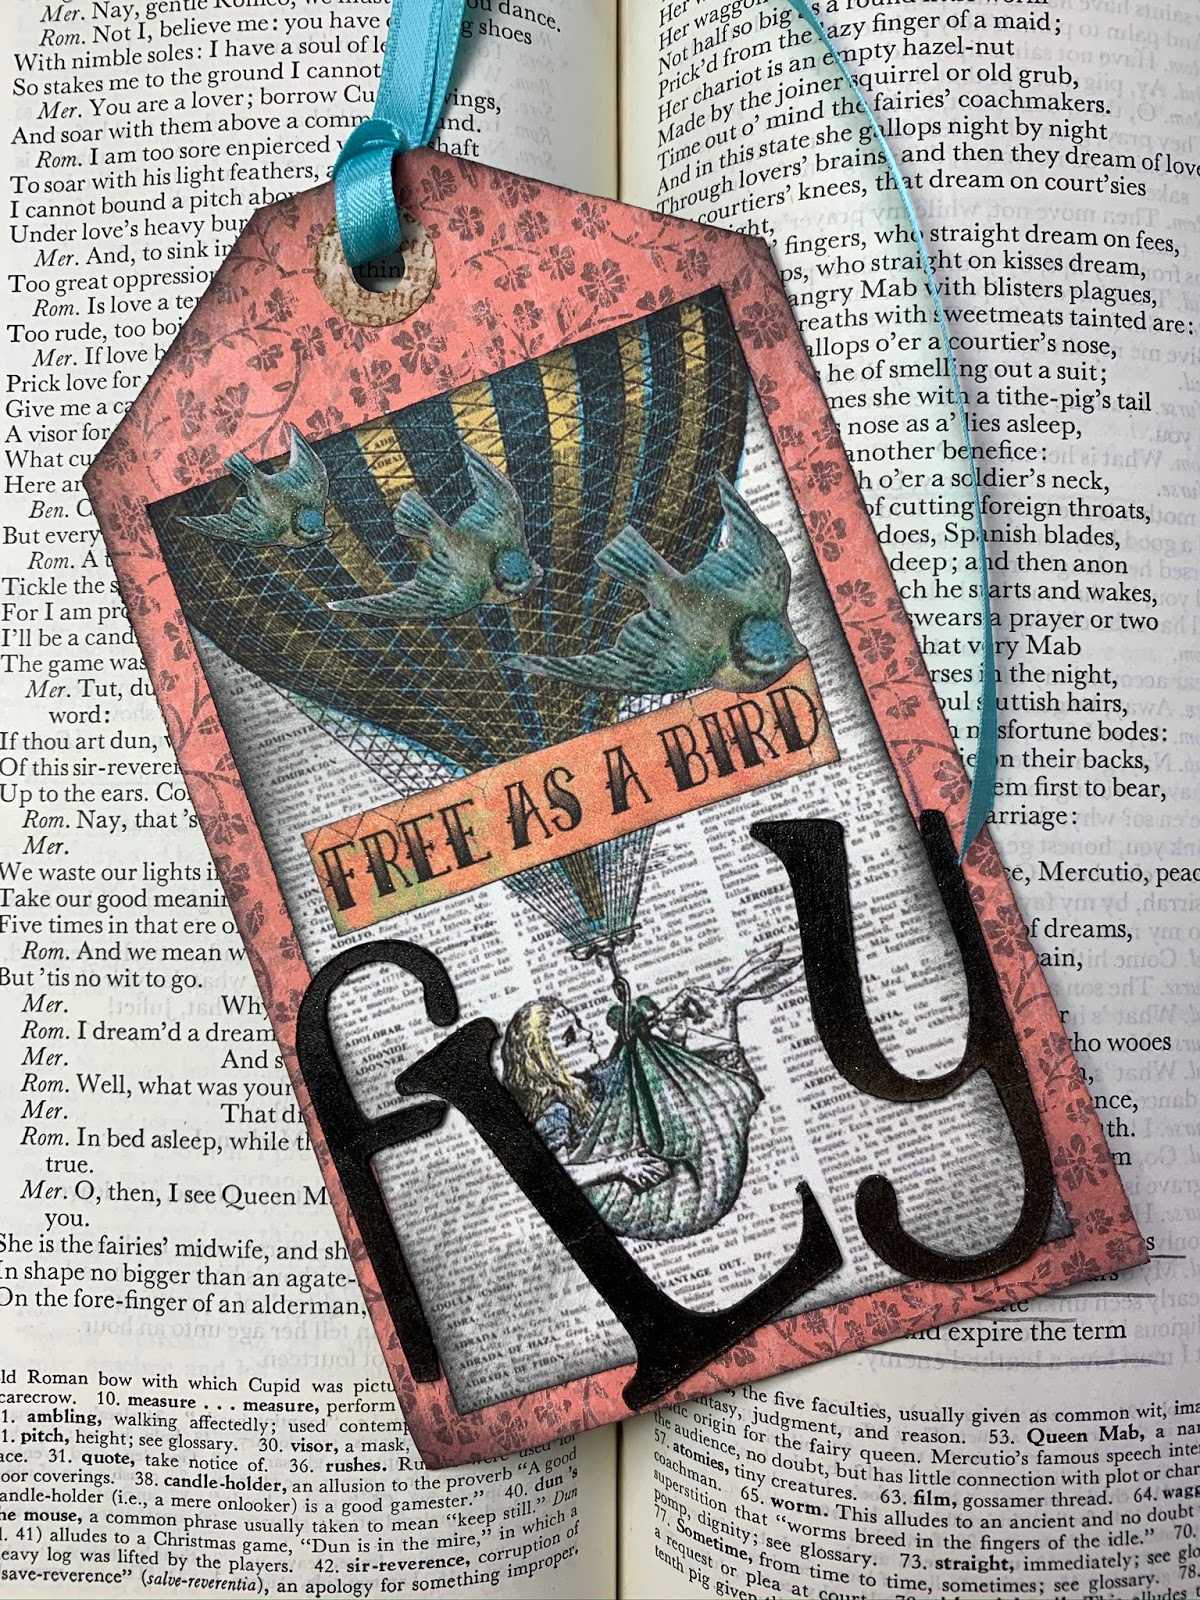
I had so much fun creating this tag. A couple of years ago I did a collage class, and used the letters for "fly" I had some left over, so...

The tag base is from my stash. I also stamped and distressed a sheet or two of gummed reinforcements to add to my vintage projects. Work great with Gecko Galz products for sure!
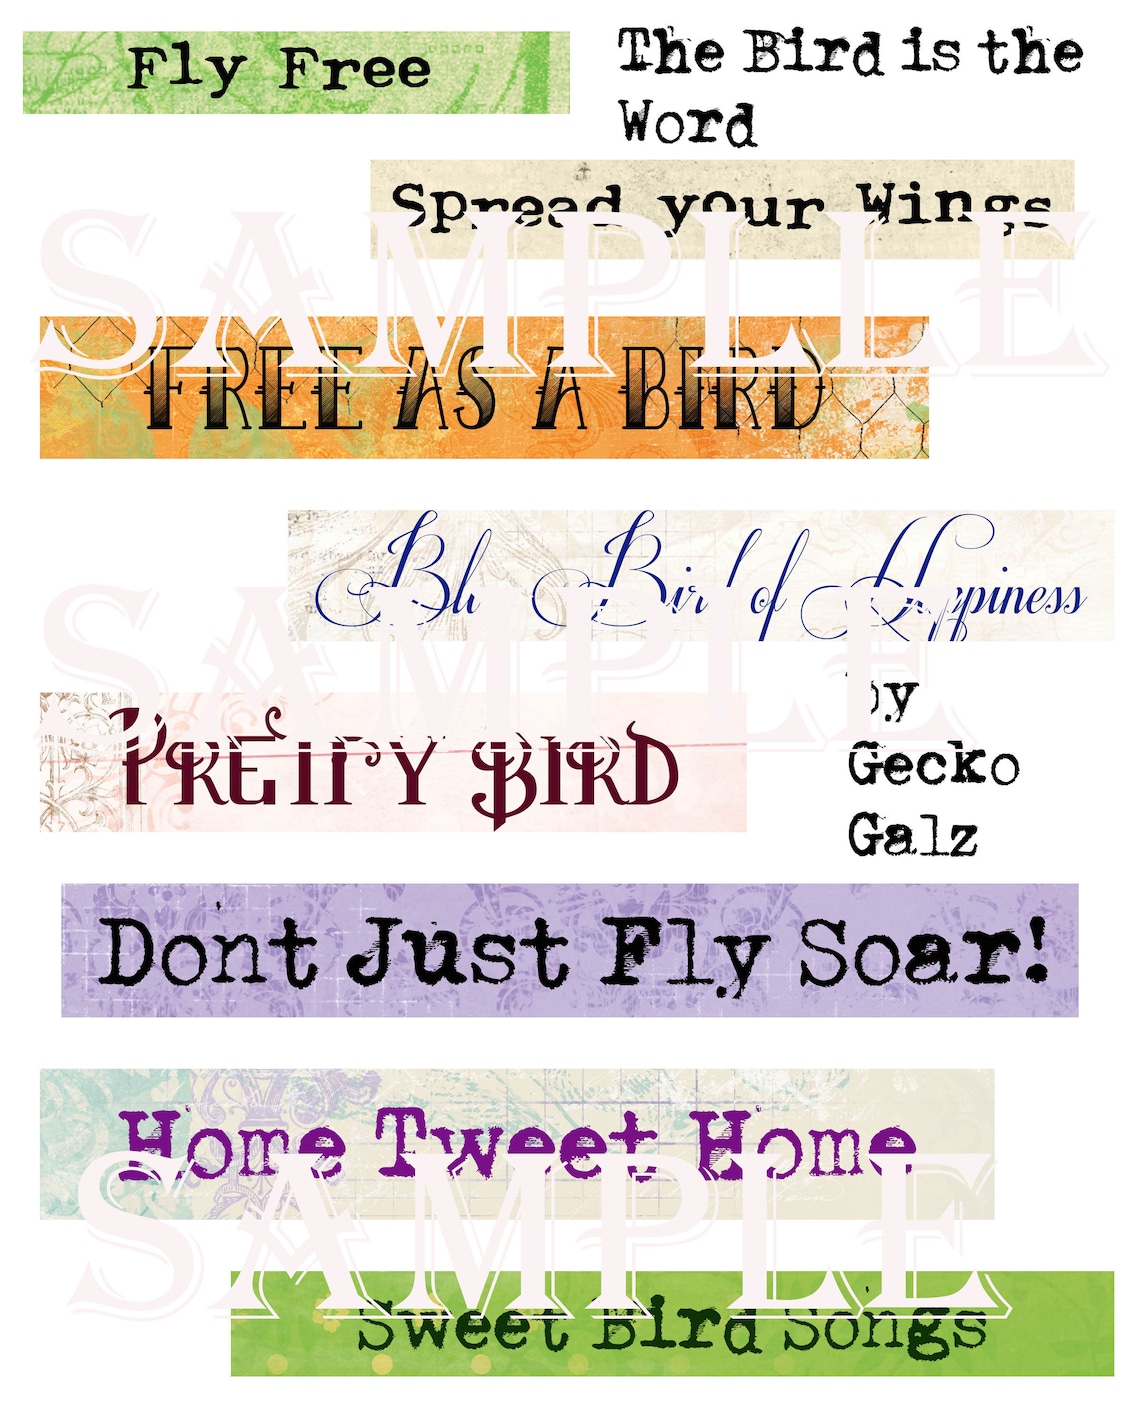
I printed out the balloon image, three birds in a variety of sizes (one of the great things you can do with digis!) and the sentiment. A bit of Black Soot Distress Oxide ink and a ribbon finished this tag in no time.

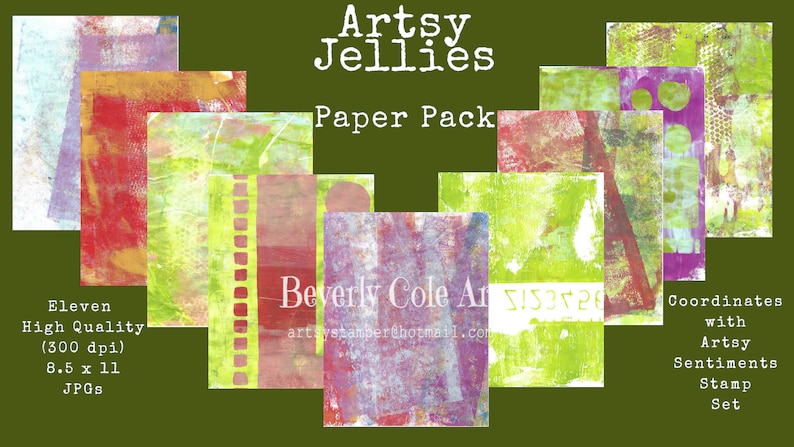
Gecko Galz products I used:
Wonders of Wonderland Craft Kit image 0

Bird is the Word Collage Sheet image 0

2016 Collage Collection Kit image 0

Be sure to drop by Gecko Galz' Etsy shop for deals. 
Visit the Gecko Galz Challenge Facebook page for several challenges monthly.
Follow the Gecko Galz Blog for freebies everyday!

That's all for now...
Enjoy YOUR creative journey!
aka Artsystamper


Monday, July 20, 2020

Challenge #20 Birthday with Artsy Sentiments

Hi! It's Beverly, aka Artsystamper.
It's time for the  20th challenge at the Artsystamper Digitals Challenge Blog
The theme is 
Birthday
The talented design team has created some creative inspiration projects, so be sure to check them out.
Here is what I have created...

This card is created with the Artsy Sentiments Stamp Set,
Artsy Sentiments Stamp Set with or without backgrounds. Easy image 1

 and the matching Paper Pack, Artsy Jellies
Artsy Jellies Paper Pack  Coordinates with Artsy Sentiments image 1
I also used my Hello Beautiful Kit
Hello Beautiful Digital Kit Stamps and Papers  resizable image 1

You can simply print out what you need. AND you can print as many as you want!

I printed the background in Gimp, at 4 1/4 by 5 1/2. I used the paper that matched the background of the sentiment. Sooo easy to create with these digitals! No wondering if they will go together, because they are created from the same paper. I love that ease. Of course, they stand on their own as well!
I was just drawn to the Hello Beautiful Kit to use with this sentiment. I printed her in blue, and fussy cut her. I wrapped a organdy ribbon around her and then attached her to the background. My favorite glue to use with ribbon is Beacon. Any of their fabric glues work great. They give you a little wiggle room time and them dry clear. 

After attaching the sentiment in place, I added a couple of little hearts I created in the past. They were in my stash. I actually don't remember how I created them!

The final touch is the melting of the ribbon to age it...One of my favorite techniques. I love working with ribbon.
I am entering this card in the following challenges:

In order to have a chance to win this set or your choice of a digital set of your choice at TheArtsystamperShop on Etsy, enter this challenge! Become a part of The Artsystamper Addiction on Facebook, and you will find yourself with free images from time to time, as well as videos and a place to add your projects. Why not join in the fun? 
Enjoy the journey my friend,

aka Artsystamper

Monday, July 6, 2020

Challenge #19 Red, White and Blue!


Hi! It's Beverly, aka Artsystamper.
It's time for the customer challenge at the Artsystamper Digitals Challenge Blog
The theme is 
Red, White and Blue
The talented design team has created some creative inspiration projects, so be sure to check them out.
Here is what I have created...


 You can find this set in my Etsy Shop. It's called Bunny Hugs. The images come in line images or hand colored by me, to make project making a breeze!


This card is created with The above set plus one more. You can simply print out what you need. I printed an extra bunny using blue lace from the Tea Room Paper Pack, also available in my Etsy.  
Tea Room Digital Paper Pack  12 Vintage Lacy JPEG Images for image 0
The full bunny I changed to red lace by fooling around with the color lever in Open Office. If you don't know what Open Office is, it's a free downloadable program, which acts much like Photoshop.

The bunny was paper pieced using the two bunnies. Before I pieced them onto the embossed background, I inked around the edges of the red piece using Barn Door Distress Oxide ink and the blue one with Faded Jeans. I then layered the card onto a blue patterned card from my stash.
  I added a bit of glitter marker to the black eyes and some of the outline, also a few dots on the sentiment, also included in the set.
 I finally added a piece of cotton lace from my stash.
I will enter these challenges with this card:


In order to have a chance to win this set or your choice of a digital set of your choice at TheArtsystamperShop on Etsy,enter this challenge! Join the Artsystamper Art Facebook group, and you will find yourself with free images from time to time, as well as videos and a place to add your projects.Why not join in the fun? 
Enjoy the journey my friend,

Wednesday, July 1, 2020

Crafts Galore Encore Challenge with Fred She Said!

Hi! Welcome to another card for the Crafts Galore Encore Challenge. This month our sponsor is 
Fred She Said. She is giving away a $10 voucher to the winner of this challenge.
I used her Hibiscus floral. First, I turned the image of the flower and a couple of the leaves from the set into overlays, by removing the background in Gimp. I have a
video that shows how to do that on my YouTube channel. After that, I layered the overlay onto one of my background papers from my Tea Room Paper Pack. By manipulating the leaves in Gimp, I was able to change the shape a bit, so they fit nicely around the blossom. I inked them with Distress Oxide Inks, around the edges especially. I also colored over the background paper with Prismacolor Premier Pencils, blending them with the Prismacolor Blending Pen.

The background paper is from my stash...pretty old. Guess you could call it vintage? The paradise die cut is from a Tim Holtz set. I used a couple of papers again from my stash, to layer the card. The print in the back is not part of the card, but the cover on my Surface...looks good though, right?

Finally, I added some glitter to the center of the card from Glitter Galore. The black Nuvo Drops finish the card.
I am entering this project in the following challenges:

Be sure to visit Crafts Galore Encore to enter this challenge, and to see the other amazing projects by our talented Design Team!

That's all for now...
Stay safe and well,

Through the Keyhole-Gecko Galz DT Project


Hello everyone! It's time for another Gecko Galz Monthly Challenge. The theme this July is
Welcome To Wonderland
I am using the new
Wonders of Wonderland Craft Kit image 1
Boy do you get your money's worth with this kit!
I chose a few images to use, It was hard to decide, since there are so many to choose from. 
Using one of the background papers from the kit, I digitally layered the keyhole scene onto it. I then printed out the other images on the same cardstock.

All of the pieces were then inked around the edges with Black Soot Distress Oxide Ink.
After simply attaching them all with glue, I attached the piece to a cardstock base in red.
I added a key, which I attached so that it looked like a little castle. Isn't it darling?
Finally, a little black lace to finish off the 5 1/2 inch measurement of this standard A2 card.
I will be entering this card in the following challenges:


Be sure to visit the Gecko Galz Blog to see more inspiration for using this kit and more.
Freebies all the time! 

Enjoy your creative journey,