Sunday, September 29, 2019

Pear-fect pair with Inga Betenshi

Hi, hello, hola!

I'm Inga Betenshi and today I would like to show a dimentional and interactive card.
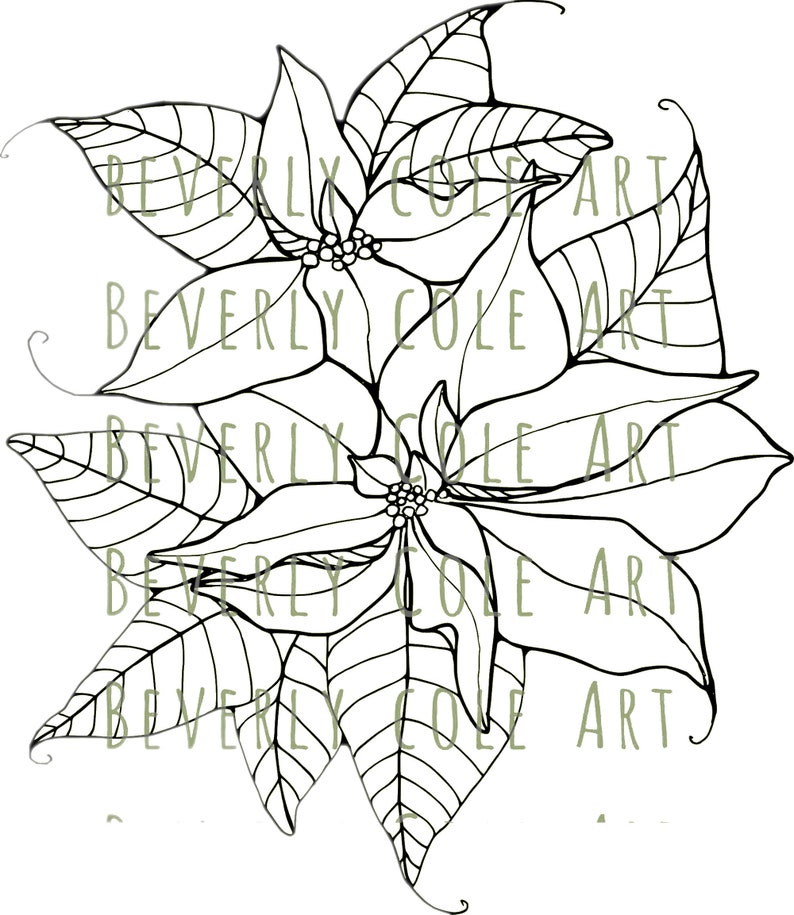
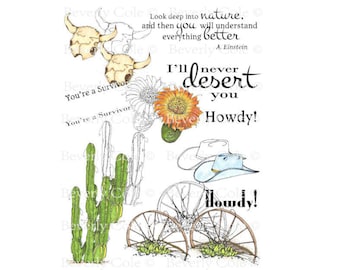
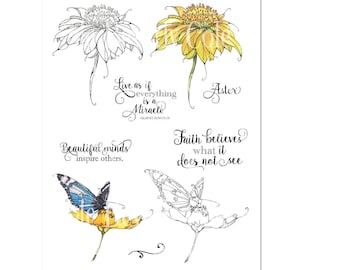
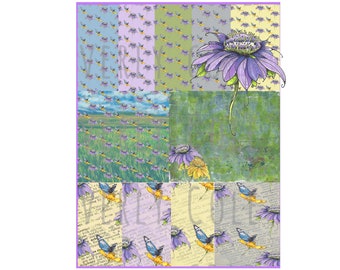
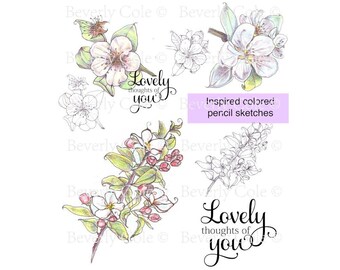
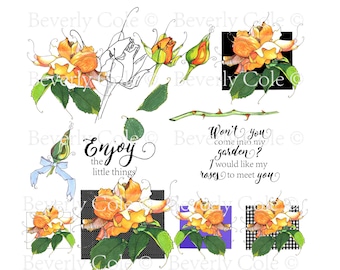
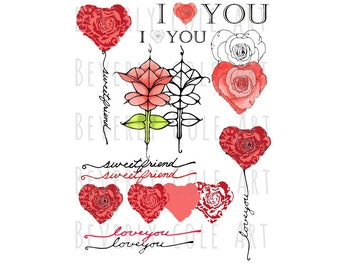
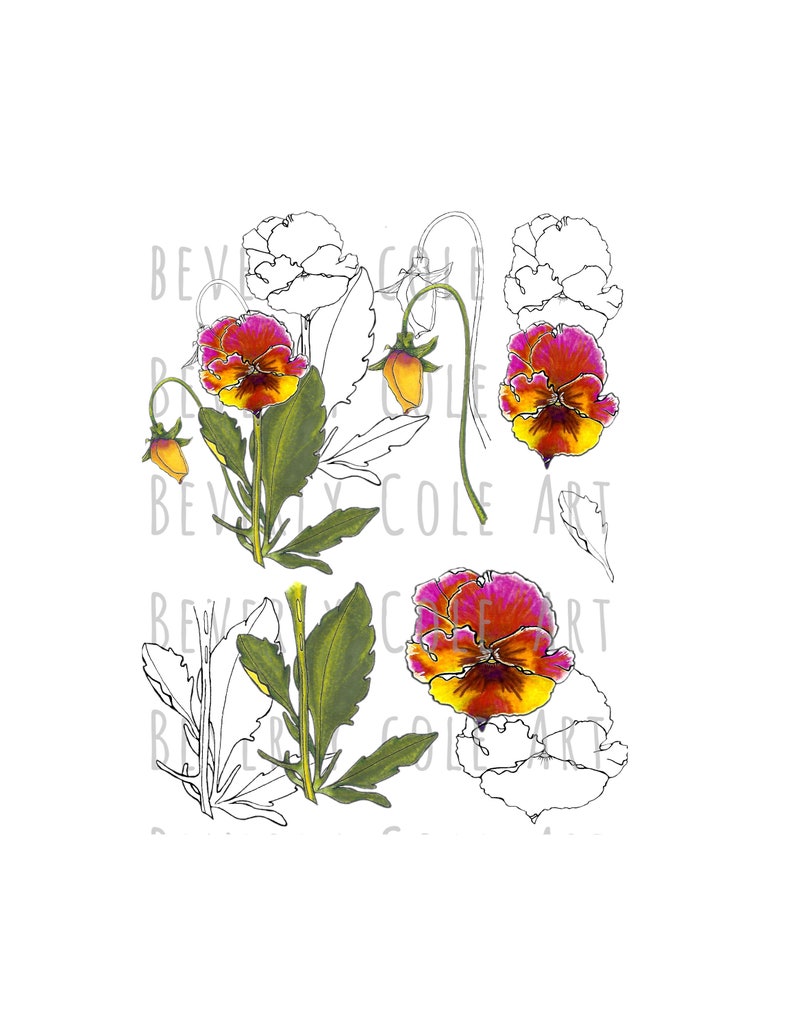
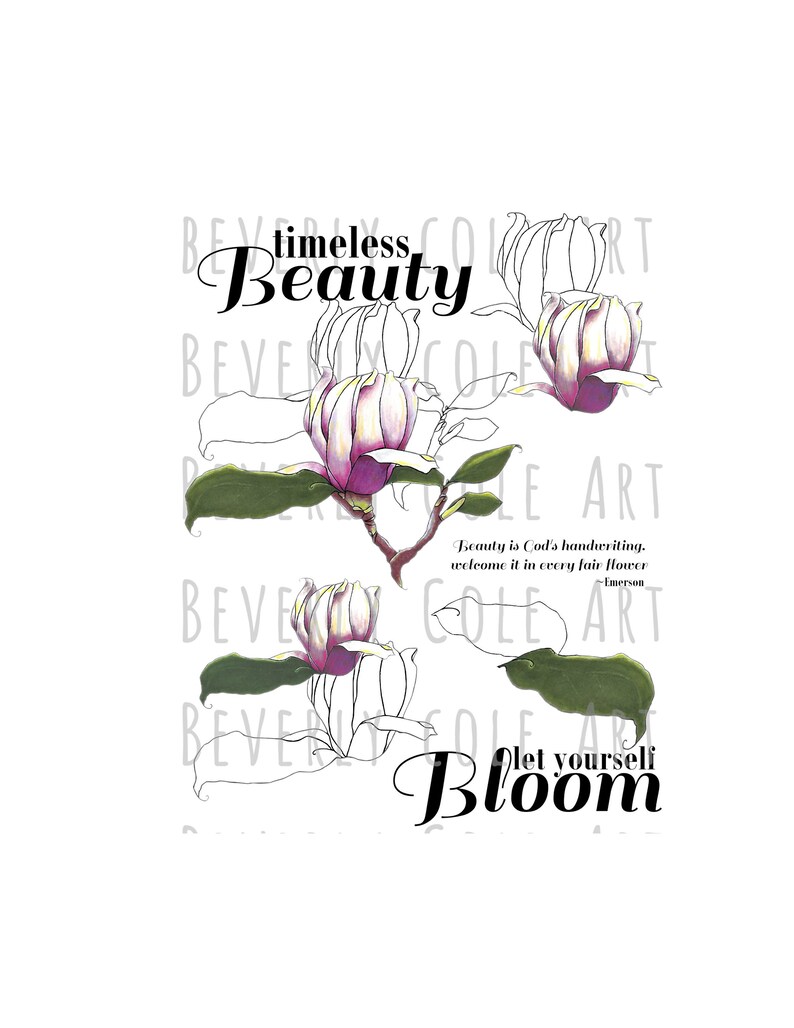
For this project I used Beverly's digital images available from her Etsy shop


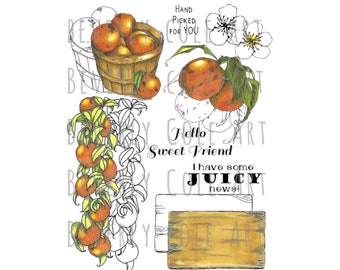
I used Bartlett Pear set, and -*gasp*- removed one of the pears! It is so easy to modify digital images, you always can adjust them exactly how you want them for a specific project.
A closer look...


I used my markers and pencils to colour them.
and here you can see why this card is interactive


For more inspiration subscribe to Artsystamper Digitals Blog, be sure you visit regularly to see new projects!
Also I recommend to check out Beverly's youtube channel BZ Cole Mixed Media and Artsystamper (Facebook)

That's all for today, see you later!


Thursday, September 26, 2019

Create with Me! Sparkly Digital Autumn Cards

Poinsettia Pairs with Kimberly Wiener

Hello there!  Kimberly Wiener here sharing another creation using  Beverly Cole's lovely images available on Etsy at TheArtsystamperShop.


Today I am featuring not one, but TWO cards created with the amazing 
This set features several digital papers as 
well as gorgeous Poinsettia's.

I selected the un-colored Poinsettia Pair and decided to go 
with an elegant blue and silver theme. 
 I wanted to have a rich luxe feel to this handmade card so 
I decided to add texture by dry embossing as well as a 
metallic layer and sequins as embellishments. 
More texture is in the centers as well.  


For my second card I have chosen another non traditional Christmas color in 
soothing light yellows and a orange and coral blended center.


To make these cards I started with a white card stock base of 4 x 5.5.  I cut a white card stock panel 3.25 x 4.75 and added the sentiment then dry embossed it at an angle away from the sentiment. For the blue card, I sponged on a light shade of blue ink. 
Another panel layer was cut using silver "mirror" card stock for the blue card and black for the yellow card 3.5 x 5.
I printed the image 3 x 3.25 as shown and colored with alcohol markers.
I adhered the layers and attached to the base.  
Clear Nuvo drops were added in the centers.
My final step was to add some "bling" confetti sequins.


Poinsettia Pair Digital Stamp and Paper Set for Christmas image 2


I hope that you have time to create and enjoy these 
wonderful images by Beverly Cole!


To see more about this project as well as details on the supplies used, 
please be sure to visit my blog

Please visit the Facebook Page: Artsystamper Digitals
Also visit Artsystamper on Instagram is a great place to see many inspiring projects! 

Beverly Cole has videos on YouTube  - BZCole Mixed Media with tutorials for her
 digital images as well as tips, tricks, and projects in process!

Tuesday, September 24, 2019

Fruit Stand Bookmarks & Card by Jess

Hello friends!


Happy Tuesday!  It's fresh. by jess here today with a brand new card for the Artystamper design team.

Here is handmade card  for this week:


This card came together really nicely. I had an idea to start with bookmarks....and then needed a card to present them in!  SO - I started off by printing the Tall Tags in a 5x7 form and trimming out. I added some cute ribbon/lace accents to create mini bookmarks! I printed off the orange/white background paper from the Fruit Stand Paper Pack and used it to make the background, then created a small pocket on the front to hold the bookmarks!


I had printed out two copies of the Tall Tags - and needed and sentiment for the card - so I fussy cut out the basket of oranges along with the "sign" part and adhered with some 3D foam tape. A tiny bit of glitter was added to some of the oranges for sparkle.  I chose some orange and olive cardstock for the background layers. Thanks for stopping by!  

Want more? Check out all the Artsystamper Media Channels:
Facebook: Artsystamper Digitals
YouTube: BZ Cole Mixed Media
Etsy Shop: TheArtsystamperShop

Jess

Monday, September 23, 2019

Perfect Pansies with Carole


Hello! 
Happy Monday!

I have a tag to share today which features the beautiful Perfect Pansy digital stamp set.

My tag has a mixed media background. 
Here it is:


I cut a tag from 300 gsm smooth card and blended Fossilised Amber and Wilted Violet Distress Oxides with a sponge. Once I was happy with the blending, I added water splashes and blotted them up to remove some of the inky colour. I used a text stamp to add some texture, inking with the same DOxides in tone on tone style. I inked around the edge of the tag in Ranger black archival ink.
The beautiful pansy is the pre-coloured one. I fussy cut it and ran a black marker around the edge to hide cutting imperfections and to mask the white card. In doing so, I accidentally cut through the stem of the bud, so I simply popped the bud behind one of the large leaves.
I added some textured white trim and woven raffia ribbon to the bottom edge of my tag, popped the pansy on foam dots for dimension and added a Tim Holtz Small Talk sticker quote. I decided to stamp the word Fleur in black.  To finish, I added a small hemp bow at the base of the pansy and threaded thicker hemp twine through the top of the tag.

I absolutely adore the colours in this pansy!


Here is the TheArtsystamperShop product I used:

Perfect Pansy


That's all for today! 
I'll be back with another Artsystamper project in two weeks time.

Meanwhile, please check out:

Thank you for stopping by today!

Friday, September 20, 2019

Hello Again! This is Michelle from East Bay Stamp Chick here to share my latest card!

Is it too early for Christmas?? I don't think so. It's my favorite time of year and I love making Christmas cards. 

I used the new Poinsettia Pair Stamp set. I loved this set from the 1st moment I saw it! I decided I wanted the flowers to be big, so this card fits in a business size envelope.  It measures 4x9.25 inches. I colored the images with alcohol ink markers and added ribbon, sequins and a sentiment. 

With this stamp set you also receive some really great patterned papers too! I have another card coming up using those, so stay tuned!

Don't forget to check out the Artsystamper Etsy shop  and Artsystamper Facebook page. Plus, Beverly has lots of tips and tricks for you on her Artsystamper YouTube channel!

Wednesday, September 18, 2019

Quilty Fun

It's kReN, here to share images from
The Artsystamper Shop on Etsy.  

Today, it's all about quilts.
I love quilts and I sew a great straight line.  However, I have a problem where the straight lines of the fabric piece are supposed to meet. 
 I have resolved that problem by making paper quilts instead.

The Fruit Stand set has some wonderful background papers
that I thought would be perfect for creating a simple paper quilt.
Here are two samples where I printed off the background papers 
from the Fruit Stand Paper Pack and simply put them behind a quilt die cut.
Maybe in the future, I will show you some paper-pieced quilts using Artsystamper images.


The first card uses a full card cover quilt die and then places the image centered
and the sentiment diagonally off-center as you can see.


The second card is 4 inches square and allows more of the background paper to show through in the center.  Then adding the sentiment from 
the Fruit Stand set finishes the card.


Fruit Stand Paper Pack
Check out Bev's images!

Artsystamper Digitals on FB

and check out Bev's amazing digital image tutorials on
 BZCole Mixed Media on YouTube

kReN@afourthlife

Tuesday, September 17, 2019

Hello Sweet Friend

Hello friends!
Darlene with you today sharing a digital creation designed using Bev's fabulous digital images which can be purchased in her Etsy shop called TheArtsystamperShop.  


I knew I wanted to create a floral cluster as the focus of my card but needed an 'anchor' to begin my digital creation.  That's when I decided to use images from various sets to create my 'floral cluster' and the Wagon Wheel was perfect for my anchor image.  
The wagon wheel image is included in the Southwestern Garden set.


Since Beverly offers not only .jpg images but also .png images in her digital sets, it's fun & easy to create a project like this using my MS Word software.  
The other sets used are:


I love that you can pull in various images from a variety of Beverly's sets and create a One-of-a-Kind digital design.  Once I have my design the way I want it, I print it out onto 4x6 glossy photo paper.  Then I use it as my main A6 card design image along with what ever else comes to mind.  For instance, in this case I've rounded the corners on my focus image and layered atop a panel of designer paper that helps draw your eye to the flowers.


My sentiment comes from the Fruit Stand Stamp Set


and the little sprig under the sentiment is from the  


You'll certainly want to check out the TheArtsystamperShop and for inspiration,  subscribe here at the Artsystamper Blog.  The design team ladies are amazing and are showcasing some fabulous works of art ... be sure to pop in frequently and see for yourself.

For your convenience, here are all of the important links:

Wishing you all an AMAZING day ahead! 
As always, thanks SO MUCH for taking the time to stop by! 


Sunday, September 15, 2019

"So pretty you should frame it!"

Hi there,

Inga Betenshi here with a bit different project today.

I coloured Beverly's magnolia... and framed it!


and a bit closer


It is actually pretty easy, The backgound is printed (*gasp!) and the flower is coloured with alcohol markers and pencils.
As you probably already know that sets of digital images in Artsysatmpers Etsy shop come in different formats. So you can use a png file (it will leave the flower white, ready to be coloured) on a background. I made the background gradient from clear to blue. 

Or you can print it out as a jpg file and colour everything! I actually did it, and I glued the page into my sketchbook (to cover some mess, but it's a secret)


so this time the background is coloured with alcohol markers and the flower is coloured with markers and pencils. See that beautiful glow? it is a white pen plus white pencil.

Anyways there are so many fun ways to use digital images!

You can find the set I used in  TheArtsystamperShop (Etsy)

If you are in doubts about digital images visit Beverly Cole's BZ Cole Mixed Media (YouTube)

And for more inspiration please check out our Artsystamper (Facebook page) or Artsystamper Digitals Blog.

That's all for today,


Thursday, September 12, 2019

Perfect Pansies - Memory Page with Kimberly Wiener

Hello there!  Kimberly Wiener here sharing another creation using  Beverly Cole's lovely images available on Etsy at TheArtsystamperShop.


As with all of Beverly's images, she gives the choice of added 
pre-colored as well as non colored images. 


Today I am featuring two brand new sets!  
The Perfect Pansies Digital Set as well as the gorgeous sentiment from 
This set features is so lovely with the colored or the non colored blooms
 For a twist, I selected to create using her pre-colored images.
The bright pinks and yellows in this digital set were just the perfect
 combination for my layout.
I have created a lovely border around my image on this
scrap page layout.


I selected the colored pansies and positioned them around my main image.
Adding a bud here and there as well as the leafy stems
 for a full grouping. 
 I adore the sentiment I selected for this layout.
One of the best reasons to go digital is the ability to size the images
 to whatever size that you need. 
Being able to size your images really opens a whole 
variety of creative options!


I hope that you have time to create and enjoy these 
wonderful images by Beverly Cole!

Perfect Pansy Stamp Set PNG's JPG's for Crafting image 0
My Magnolia Stamp Set PNG's JPG's for Crafting image 0

To see more about this project as well as details on the supplies used, 
please be sure to visit my blog

Please visit the Facebook Page: Artsystamper Digitals
Also visit Artsystamper on Instagram is a great place to see many inspiring projects! 

Beverly Cole has videos on YouTube  - BZCole Mixed Media with tutorials for her
 digital images as well as tips, tricks, and projects in process!

Wednesday, September 11, 2019

Summer fruits


Hello lovelies, hope you are well! today I am sharing a vintage fruit tag created for ArtsystamperI have used the wonderful fruit stand paper pack and the fruit stand stamp set.


I have used some paper from the fruit stand paper collection (the brown paper in the background is from my own stash) and a piece of corrugated cardboard. I have also fussy cut the orange digital stamp from the fruit stand stamp set.


I covered a piece of Kraft cardstock measured to tag size with the brown leafy design paper from my stash. Next, I adhered the orange theme paper. I have distressed all edges with the edge of my scissors and Walnut stain distress ink. 
I then, tore some corrugated card board, and adhered it to the left side of my tag. This has also been edged with the same distress ink. 


Next, I cut a square from the leaf design paper and stamped a scratch design background stamp using Walnut stain distress ink. 
Finally, I used the png quote stamp from the same set to complete my tag. Thanks so much for stopping by, see you on the next one! 
Hugs, Zowie xx 

Artystampers Digitals Blog

The Artsystamper ShoEtsy}

BZ Cole mixed media {YouTube}